Recently, I set out to find an easy way for developers to deploy Kasten K10 and experience the value of the solution, without having to deploy public cloud managed Kubernetes environments or rely on virtual environments. Since most people have access to their own laptop or desktop machine, be it Windows, MacOS or Linux, I wanted to deliver a solution for rolling out a Kubernetes cluster locally, so they can see the benefits of Kasten K10 in real-world data management use cases.
However, I realized many developers use local Kubernetes environments on their own systems, and these local Kubernetes clusters have an equally overwhelming list of options. I have been playing mostly with K3D locally but also Kubernetes in Docker (KinD) and more recently MiniKube. With MiniKube, there are many add-ons available to make things easy. You can find the project here on my GitHub.
In this blog, I’ll demonstrate how to spin up a local Kubernetes cluster on MacOS, Linux or Windows using MiniKube*, so you can create a proof-of-concept or learning environment, or test Kasten K10 for free to protect a local development environment.
“minikube quickly sets up a local Kubernetes cluster on macOS, Linux, and Windows. We proudly focus on helping application developers and new Kubernetes users.”
Running MiniKube
To begin with, regardless of your workstation OS, you can run minikube. First, head over to the project page. The first option you have is to choose your installation method. Notice that you will need to have a “Container or virtual machine manager, such as: Docker, Hyperkit, Hyper-V, KVM, Parallels, Podman, VirtualBox, or VMware.” I am using Docker. You can install Docker on your system using this link.

Installation and prerequisites
I have been using arkade for some time now to access Kubernetes tools and CLIs. You can see the installation steps on this github repository for getting started with Arkade – it’s very handy!
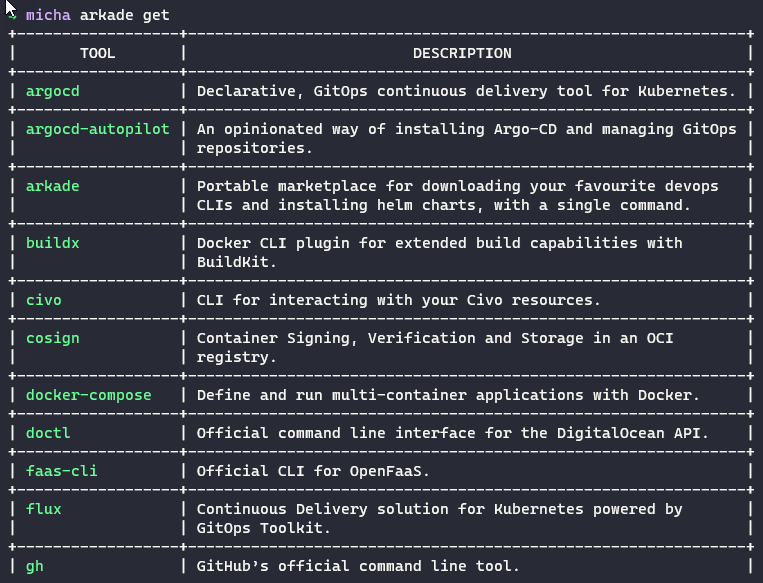
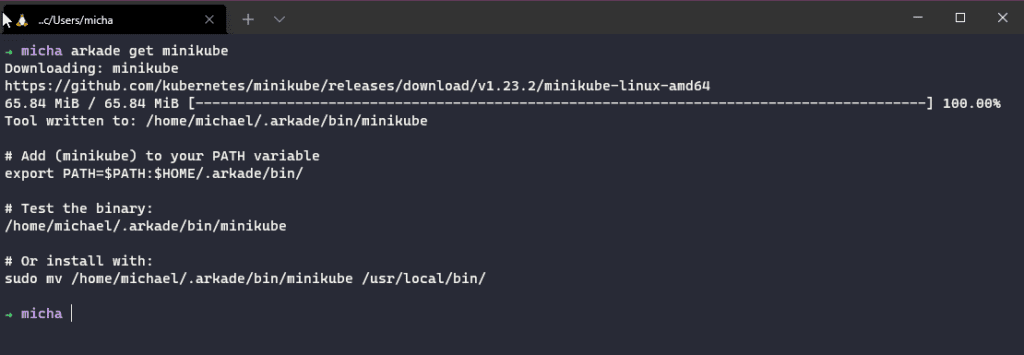
MiniKube is among the long list of available apps within Arkade, With a simple “arkade get minikube” command, you can download the binary.
You will also need kubectl as part of our tooling, also available on Arkade. Additionally, the MiniKube documentation brings this down as part of the curl commands mentioned above.
Getting a Kubernetes cluster up and running
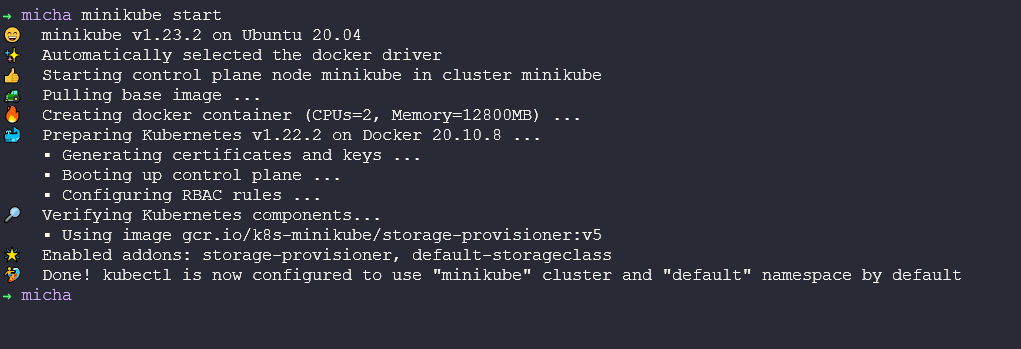
In this section, I cover the options available for getting a Kubernetes cluster up and running on your local machine. One option is to run the following command:.
If you need to run data services in your environment, you can take advantage of some of the MiniKube add-ons that are available.
Run the following command to see the add-ons:
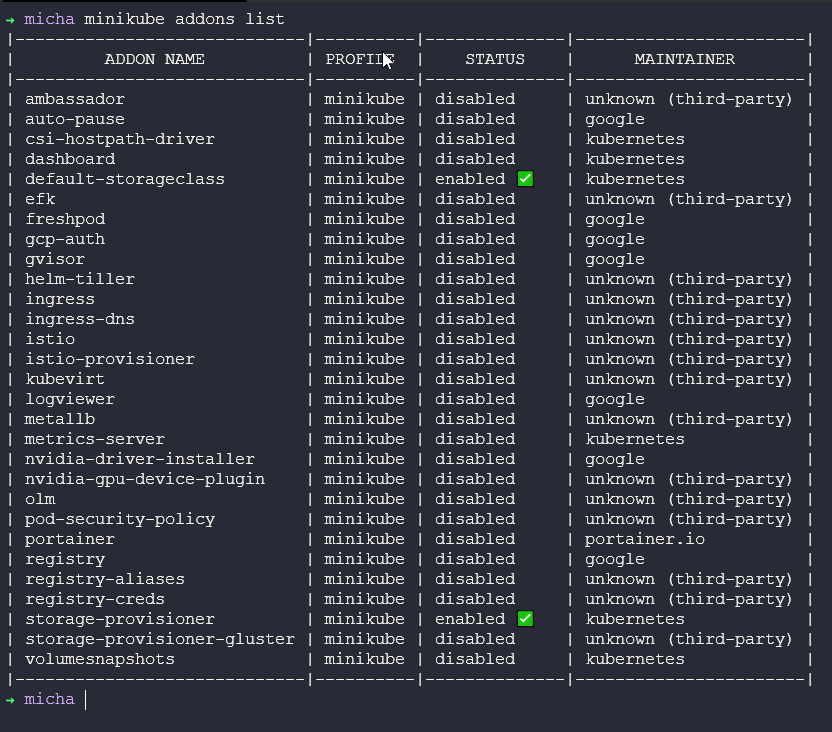
For our project, we are using volumesnapshots and csi-hostpath-driver.
Additionally, I am setting apiserver to 6433 instead of a random API port. To do this, I simply define the container runtime also to containerd; however, Docker is the default and CRI-O is also available. I am also choosing the Kubernetes version so that I know my Kasten K10 deployment is supported.

Once this is complete, we will have a Kubernetes cluster.
Deploy Kasten K10
There are two options when it comes to deploying Kasten K10 into the new cluster. We can either use the helm chart to walk through the deployment, or we can use Arkade .
Deploy a Data Service (MySQL)
To test Kasten K10, we need a data service. For this demo, we have chosen MySQL as the first option, However, in the future, there will be additional options as people contribute different data services that may need protecting. For example, we may decide to include a WordPress deployment, which has a database backend that will need to be protected. My goal is to add data services here to show the power of Kasten K10 protection.
What Is Kasten K10?
I am not going to provide a complete Kasten K10 overview in this post, but I want to point out that you can protect an application by deploying the CSI-Hostpath and volumesnapshot. While a snapshot won’t protect the application from anything locally, it gives you a basic look and feel of the Kasten K10 interface and process, and a very fast recovery.
Thanks to Dean Lewis, who has included MinIO with the MiniKube deployment, you can access an export option, as well. This lands on the same infrastructure as our Kubernetes cluster. While this won’t protect against local failure, it contributes to our learning journey. If you are interested in using this method to create a local development environment and would like to protect the data, you can add external object storage options such as AWS S3, S3-Compatible, Microsoft Azure Blob Storage or Google Cloud Storage.
To learn more, see the project here on my GitHub.